Runner’s Knee - What is it?
Why We’re Seeing So Much and What’s Actually Helping
Over the first half of 2026, there has been a noticeable increase in the number of runners coming through the clinic with ‘Runners Knee,’ also known as patellofemoral pain.
Knee pain around the front of your knee can quickly become frustrating and limiting, whether you’re training for a 5km, marathon, or regular morning runs.
The good news? In most cases, you don’t need to stop running. It can actually be detrimental to cease running all together.
What’s Runner’s Knee?
Runner’s knee refers to pain around and/or behind the kneecap typically aggravated by activities such as:
- Running
- Stairs
- Squatting
- Lunges
- Sitting for prolonged periods
While it’s easy to assume that the knee is the problem, the cause is often much broader.
Addressing the hip and foot can often be an important part of the bigger picture.
The Pattern We’re Seeing
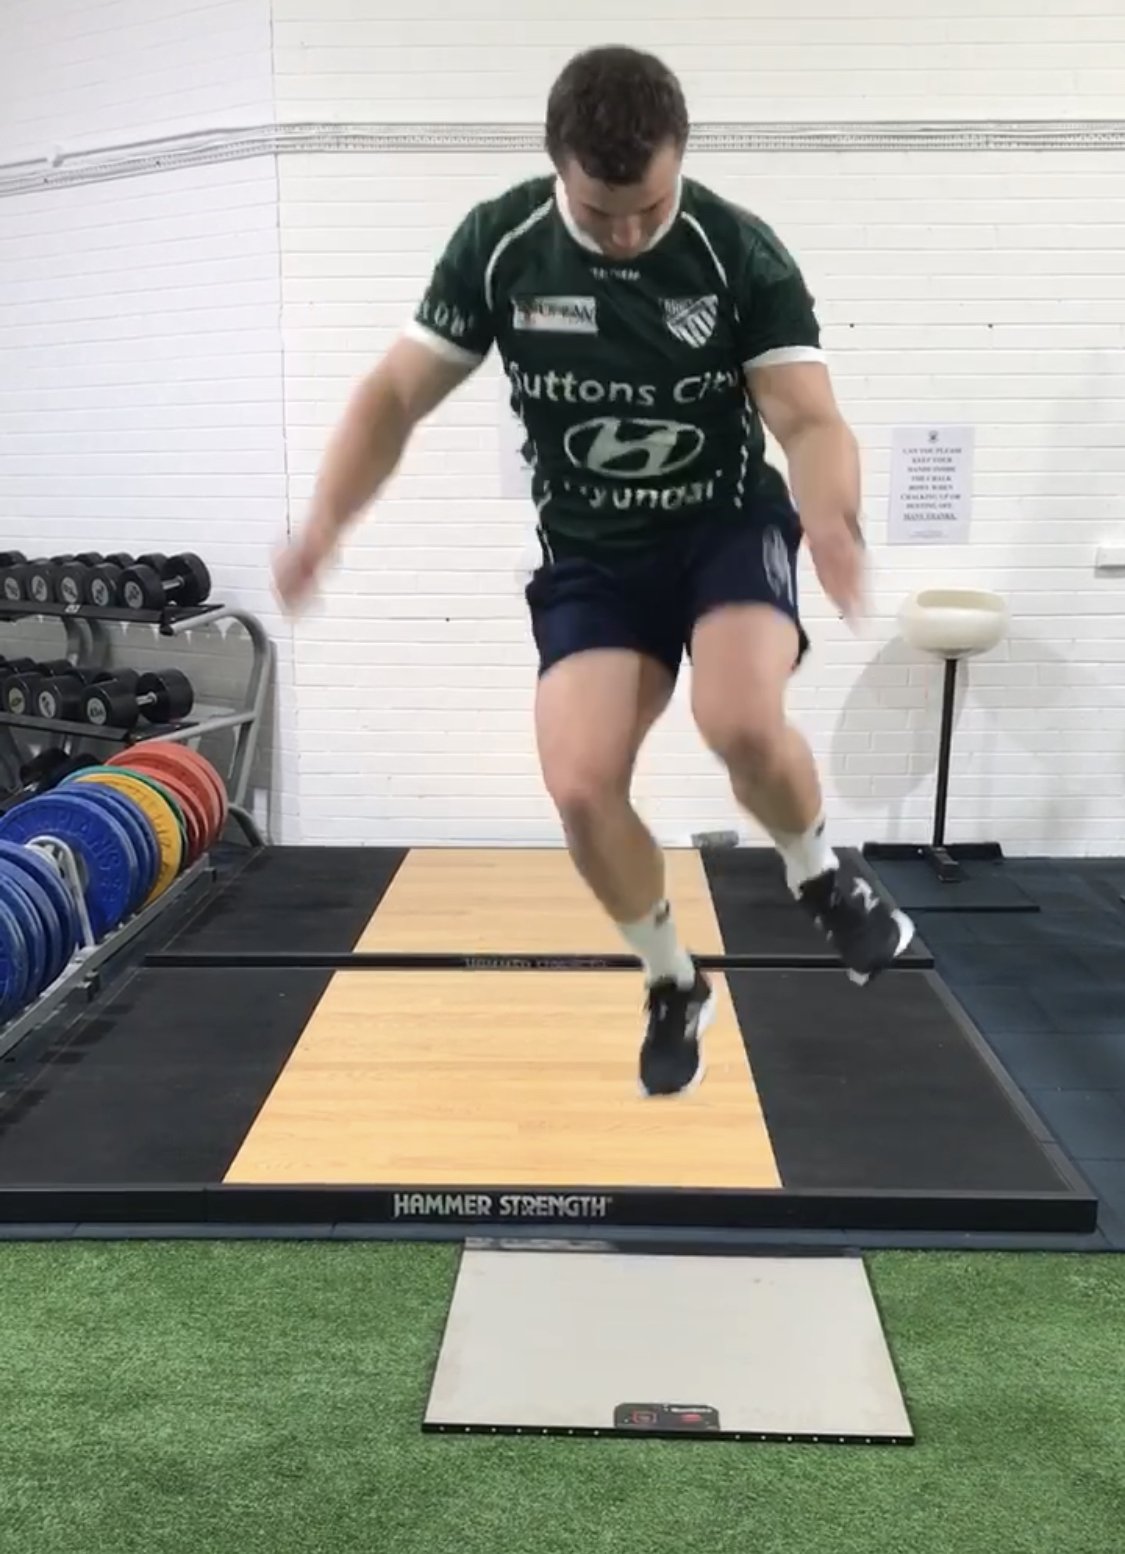
The biggest trend we’ve noticed in the clinic is that many runners are running 4-6 times per week, and doing very little strength training and not allowing for appropriate recovery.
Running is great exercise but usually isn’t enough in isolation to prepare your knee for increasing training loads over time. If appropriate strength training isn’t paired with running training, often the knee ends up absorbing more load than it’s capable of tolerating.
The Approach That’s Been Working
One of the most successful strategies over 2026 has been surprisingly simple:
Run less frequent, get stronger
Rather than trying to push through pain whilst continuing to run almost everyday, we’ve been guiding runners to temporarily reduce their running frequency to create space in their week for 2-3 dedicated strength sessions.

An added benefit is that many runners can tolerate longer runs because they’re arriving at each session fresher. Therefore, overall weekly volume doesn’t have to decrease dramatically, it just becomes distributed more effectively.
This approach allows the irritated tissues to settle while improving the muscles ability to absorb and distribute load more effectively.
Don’t Just Rest, Build Capacity
Complete rest provides temporary relief; pain almost always returns if you jump straight back into what you were doing previously.
Instead, shift the focus to improving your bodies capacity to tolerate the demands of running.
“I think I have runner’s knee, what should I do first?”
1. Reduce running frequency
Aim for at least 1-2 days between runs.
2. Replace runs with strength training and off feet conditioning.
The extra recovery days shouldn’t always be spend doing nothing. A specific lower limb strength program & off-feet conditioning (stationary bike, ski erg, assault bike) should be implemented on these days. This allows you to introduce strength training whilst also maintaining cardiovascular fitness.
3. Monitor your symptoms
- Pain during running should remain 3/10 or less
- Symptoms should settle within 24 hours or quicker
Your knee should feel ‘ready’ for your next run after the 1-2 days recovery!
If you’re still having trouble with your runner’s knee, don’t hesitate to contact one of our sports physiotherapists to come up with a plan!
Article Written By Harrison Nicholson